WEEK
FOURTEEN
Interface and Application Programming
Task for this Week
Group Assignment
Compare as many tool options as possible. So we decided to control the buzzer and led from the serial communication port with processing software.Click here to know more about group assignment.
Individual Assignment
Write an application that interfaces a user with input and/or output device(s) on a board that you made.This week is for the interface and application programming. For this week I decided to make an app by using MIT app Inventor platform. Here we can Create
our own android application and by which we control the project by this app.
So I am decided to do the motor on and off by using bluetooth module. So firstly I design the layout of app.
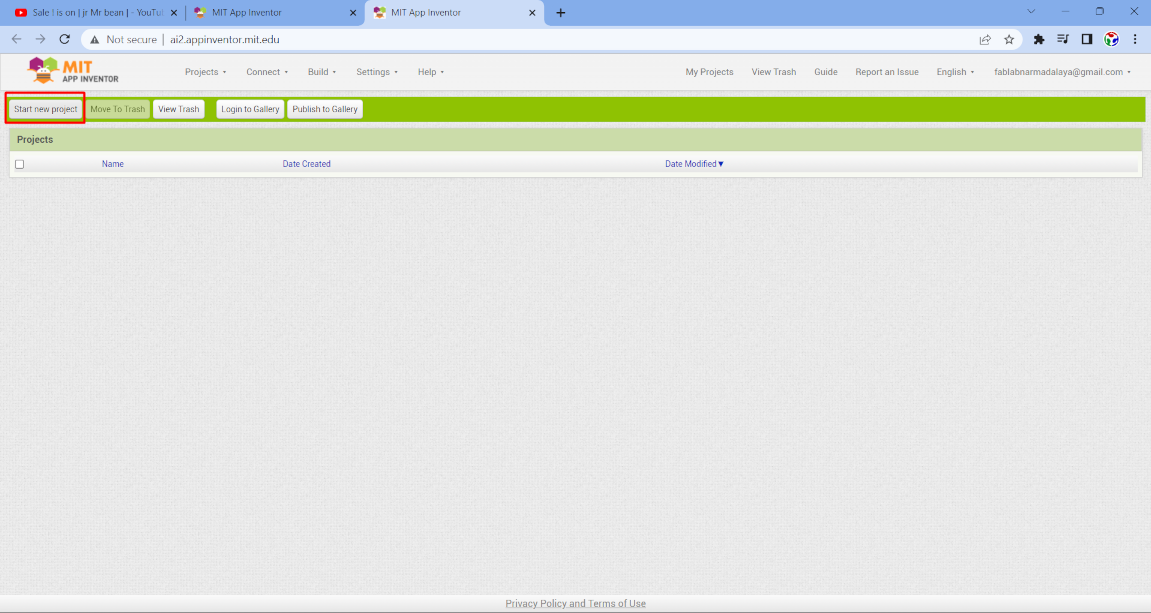
To design app search "MIT app inventor" on web browser and open the first link of mit app inventor. Then accept term and condition of this plaform and login
With your gmail account. After that a new window open. Now go to create app option and select it.

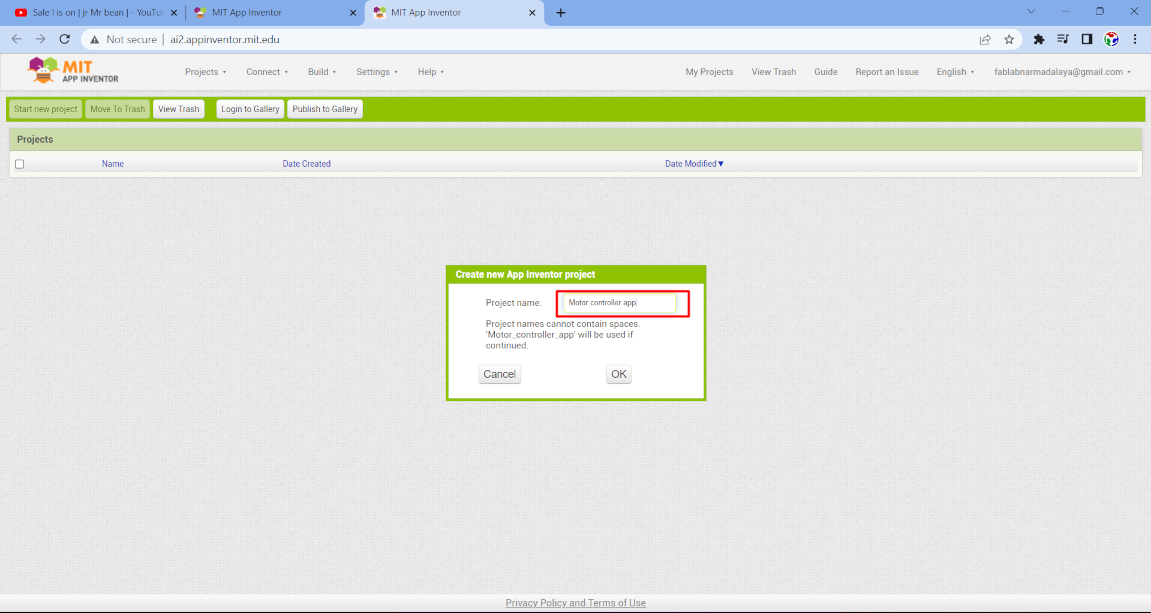
After that a new window is open. Now here we have to select new project and select the name of new project which is shown as a app name.
After that a new window is open where a mobile screen is there. Now we have to select element for the screen layout
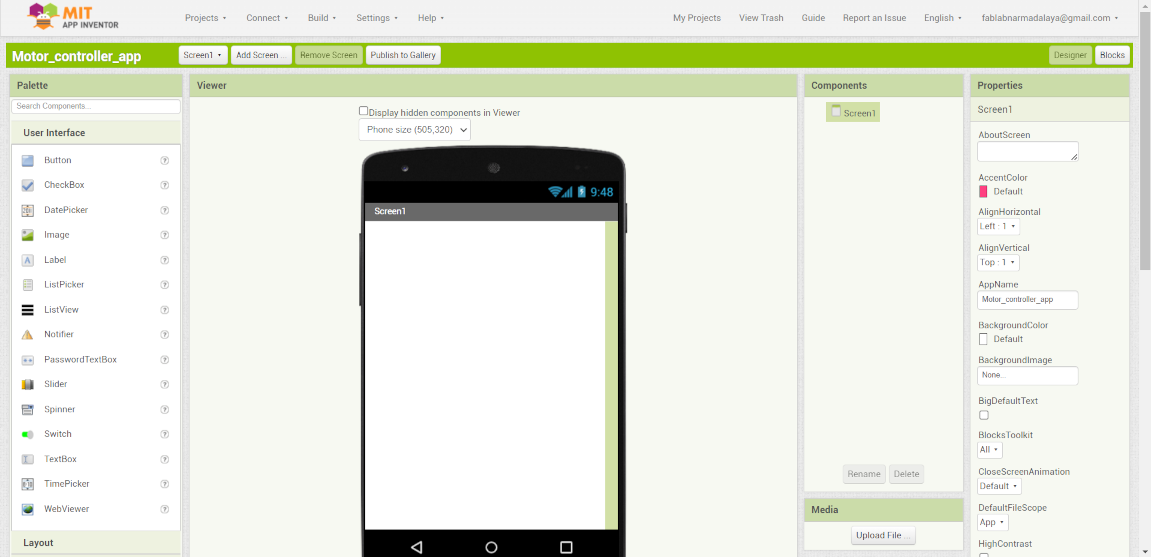
Now here is the four section is there- platte, Viewer, Component and properties. from platte we have to select the compnent for the app interface
in viewer section we just see how the component look in the mobile application. Component section shows the list of comonents used. And at last
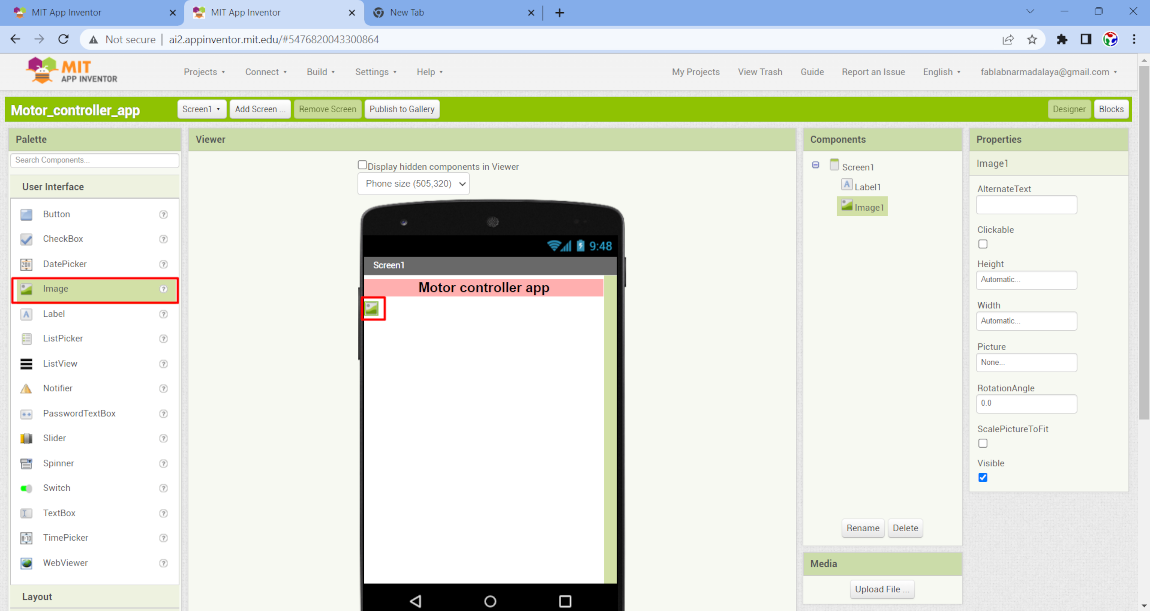
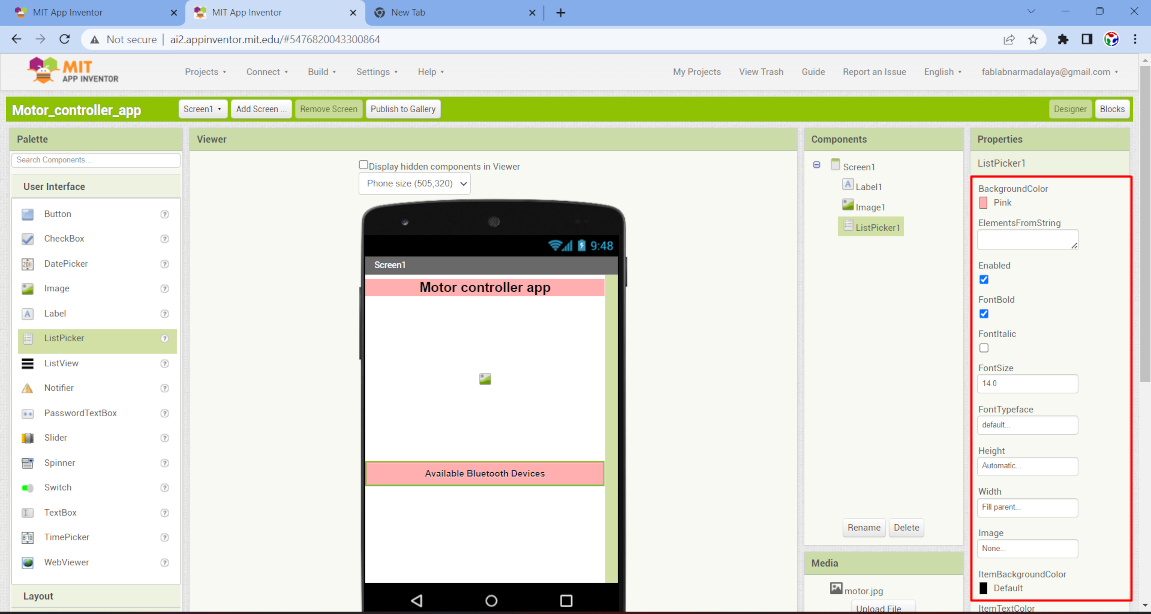
We get properties of the selected component.First I select a label for my app which show the name of app on it.
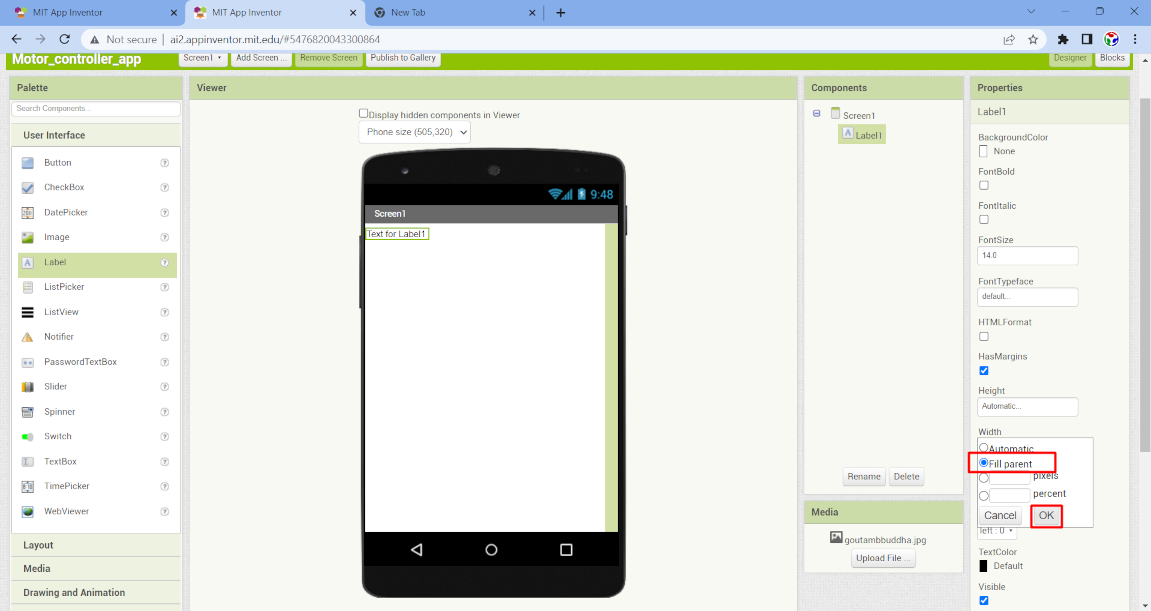
Now I simply drag the label to the mobile screen. after that I go to the proprty option and selct the hight and width of the label box
and change the name by "Motor controller app " and set this text in center.

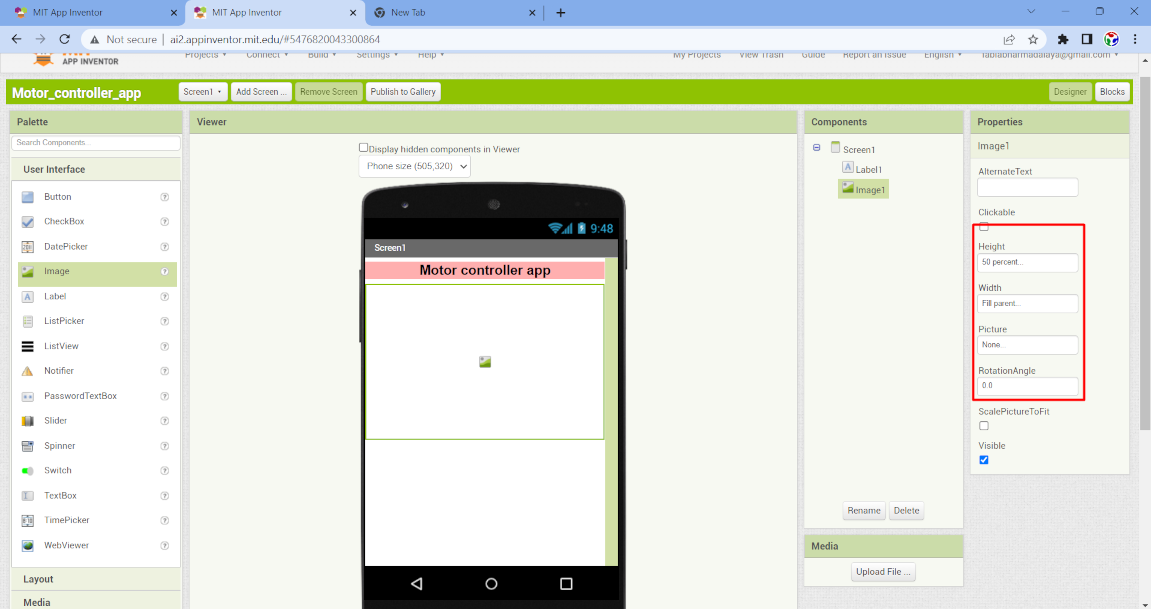
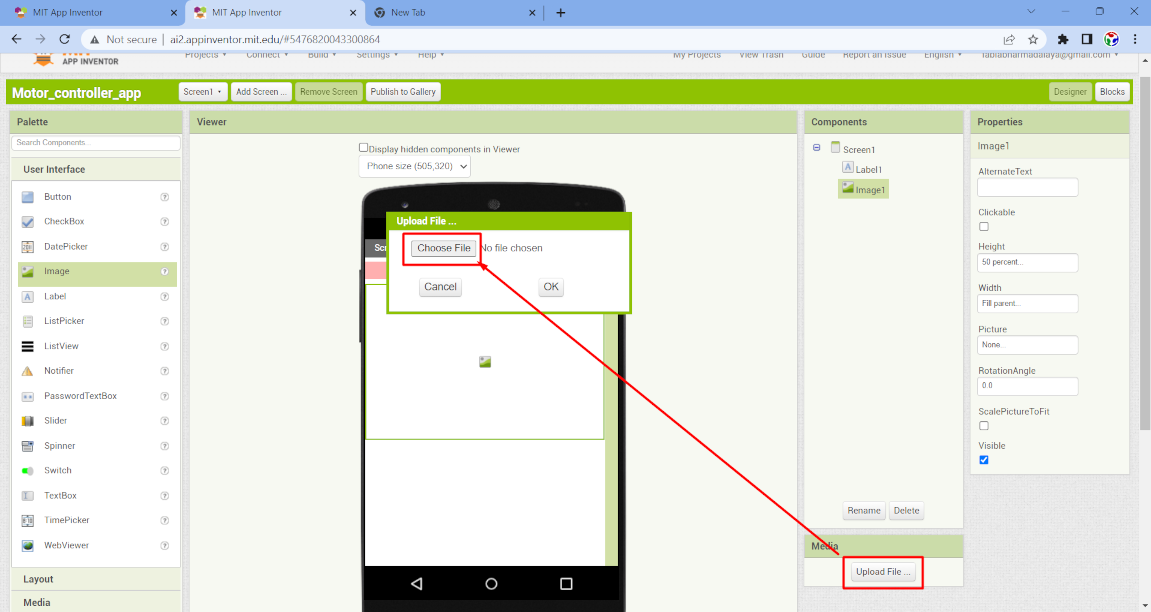
Then again I select a image component and drage it in viewer section. After that I resize the image box and select a image of motor and upload it.
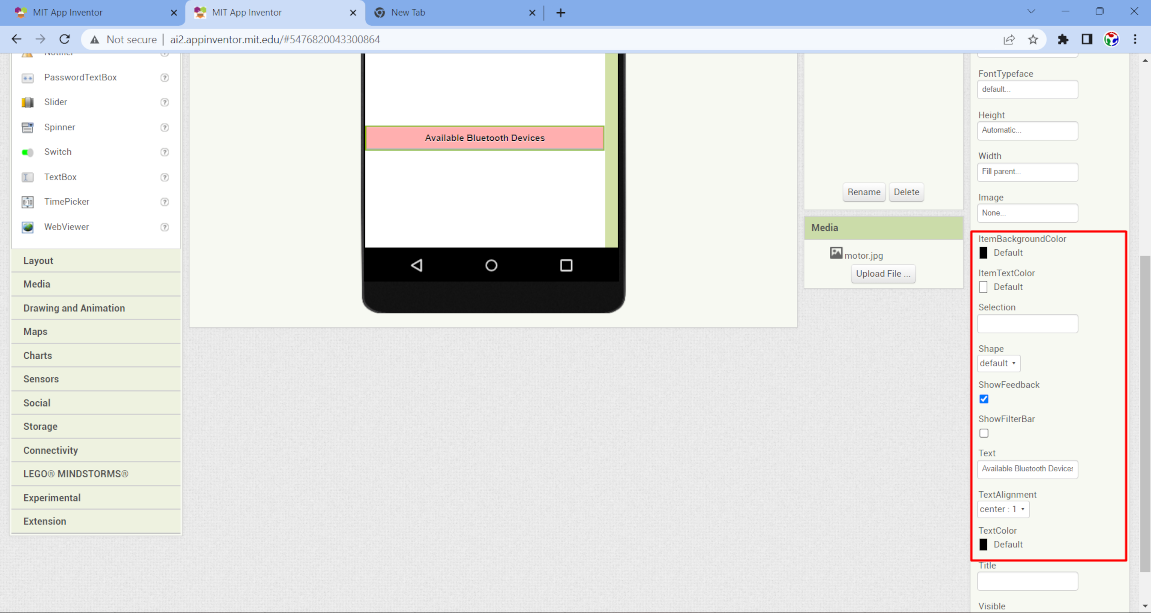
Now we connect our app to the PCB board via Bluetooth. So we have to add a bluetooth option on it. So firstly I select a Listpicker which shows the
list of avaialable bluetooth device. So simply drage it and change the name and text size in property option.
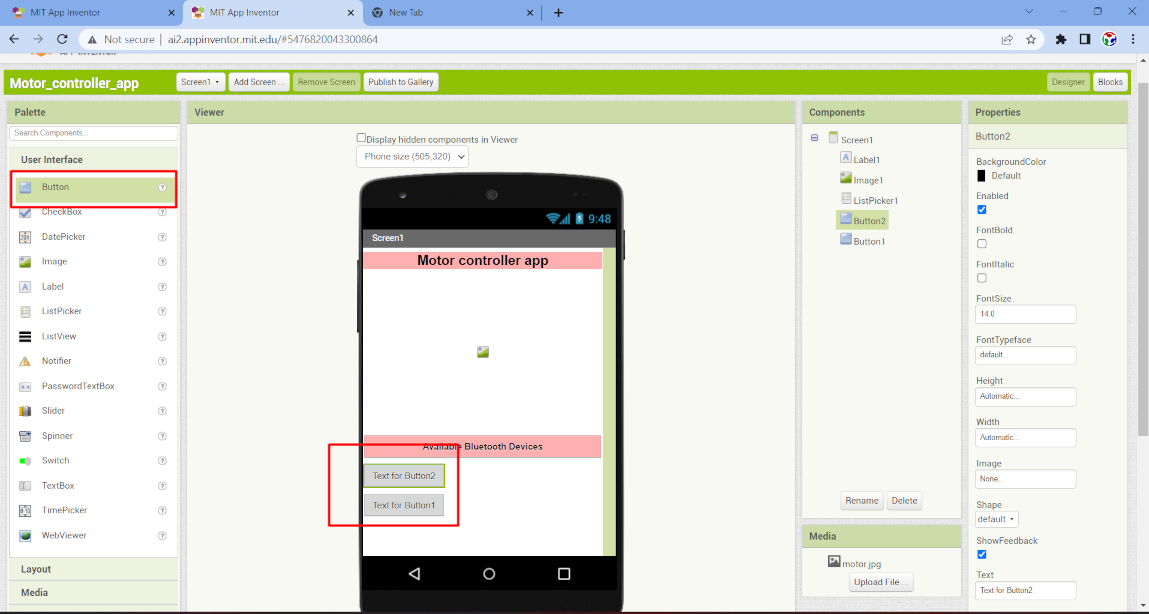
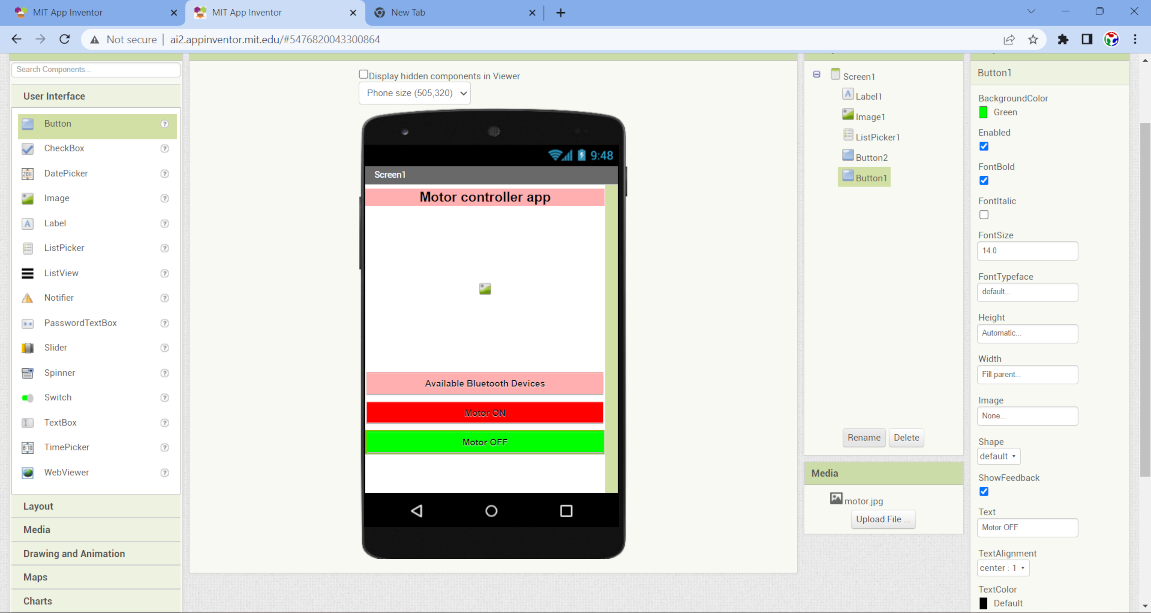
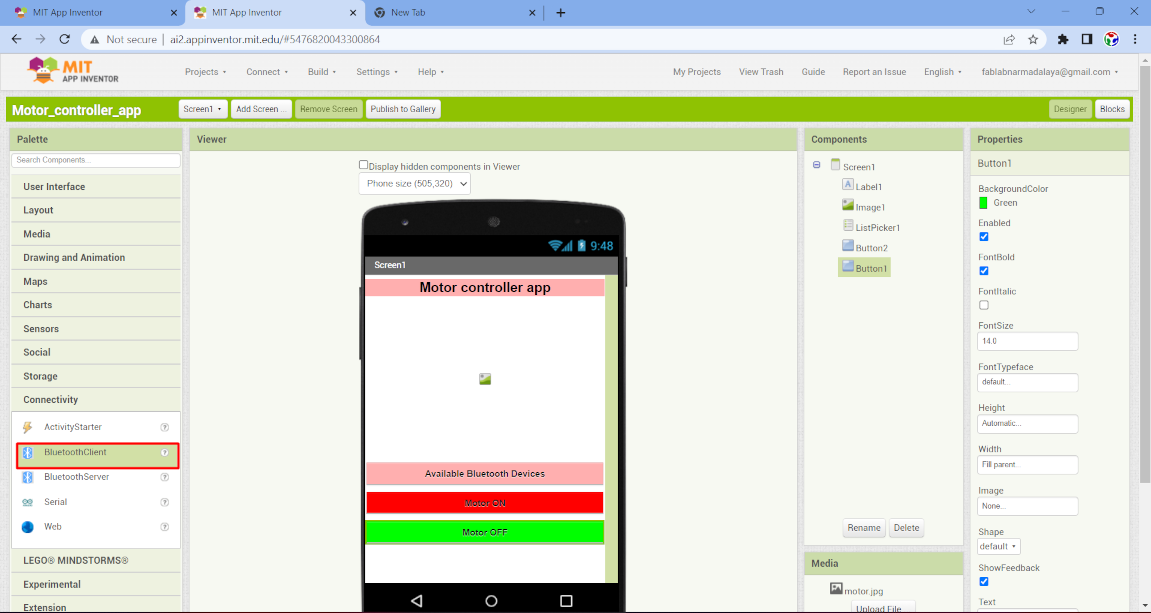
Now after that I select button. When we press them the bluetooth send some value to the microcontroller and then set the szize of box and text in property
section. I give color to the boxes to make my app attractive.
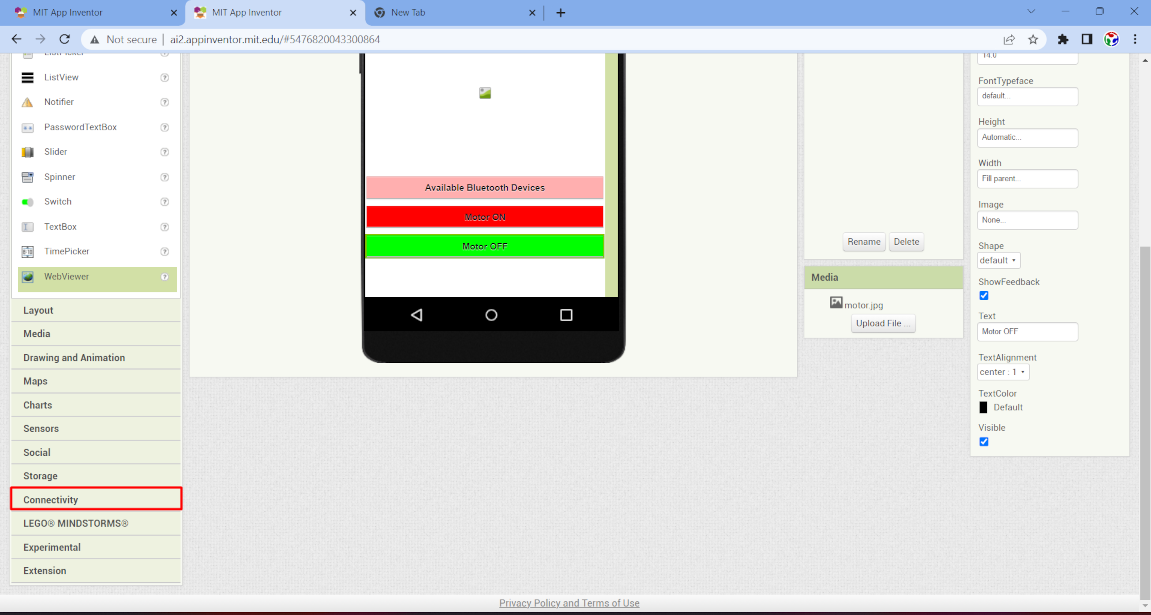
After that go to the connectivity option in the plette section and select the "bluetooth client" and drag it to viewer section. This bluetooth component
Not visible on the screen. But it form the main connectivity operation between app and microcontroller.
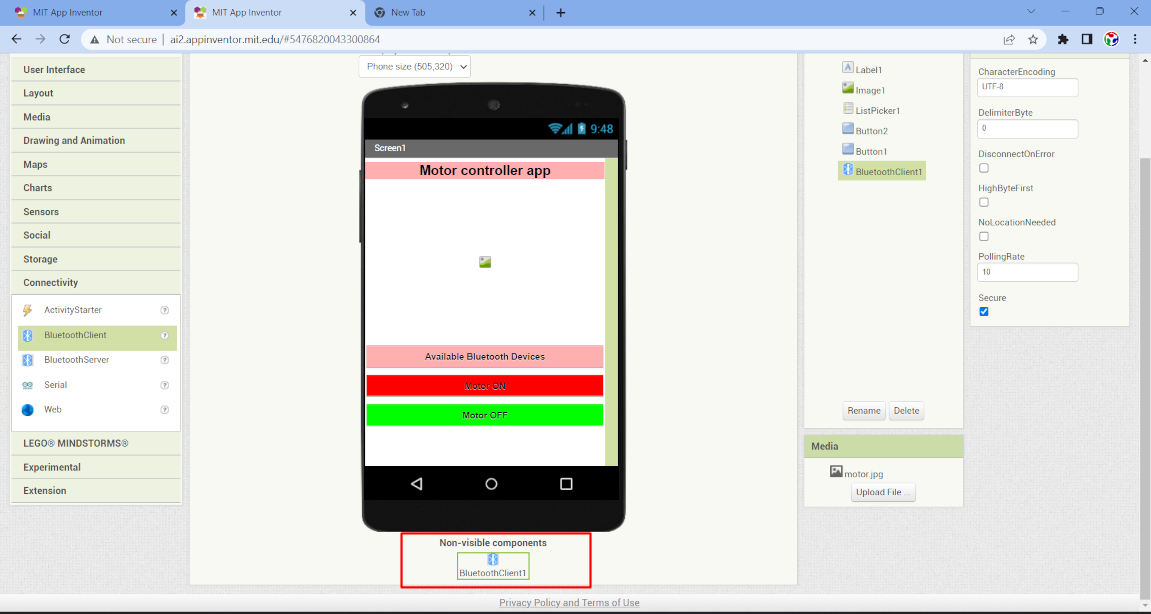
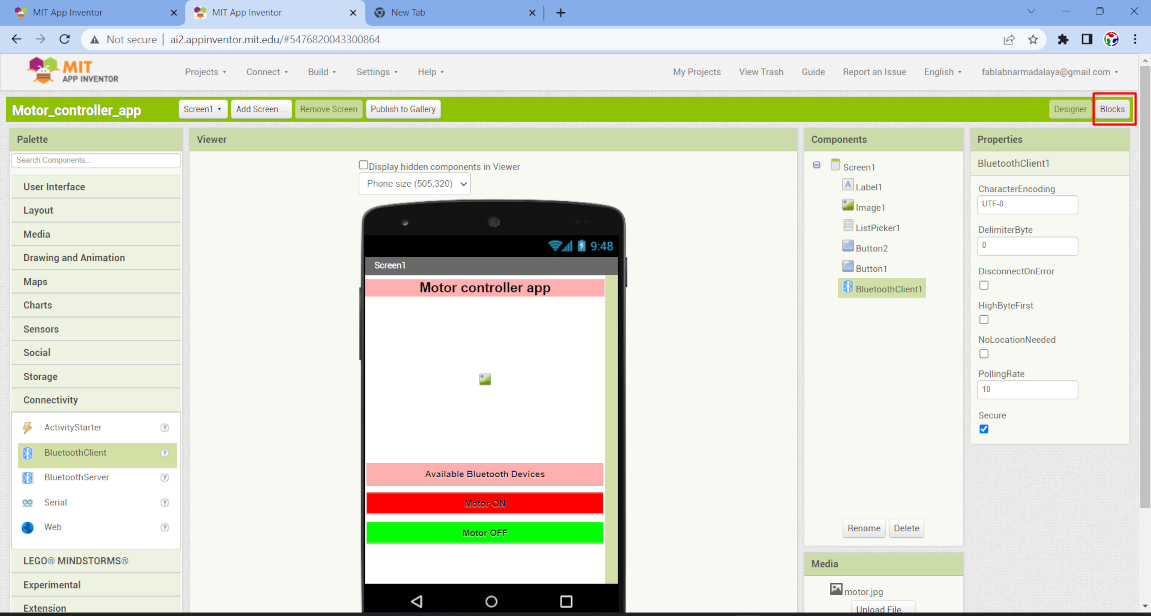
Now the app interface is ready. Now we have to connect interanal element to perform the action. This elememt is not visible. To connect them we have to switch on
Blocks. Now here we do a programming by using blocks for different component. So at left side we have the component name and some other logical and conditional
component.
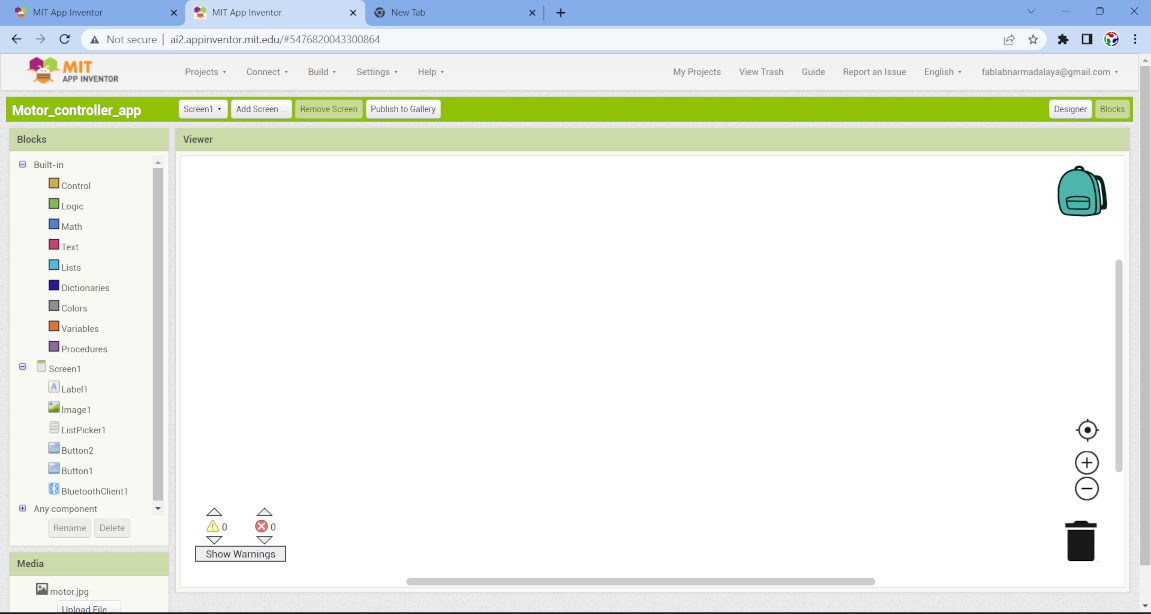
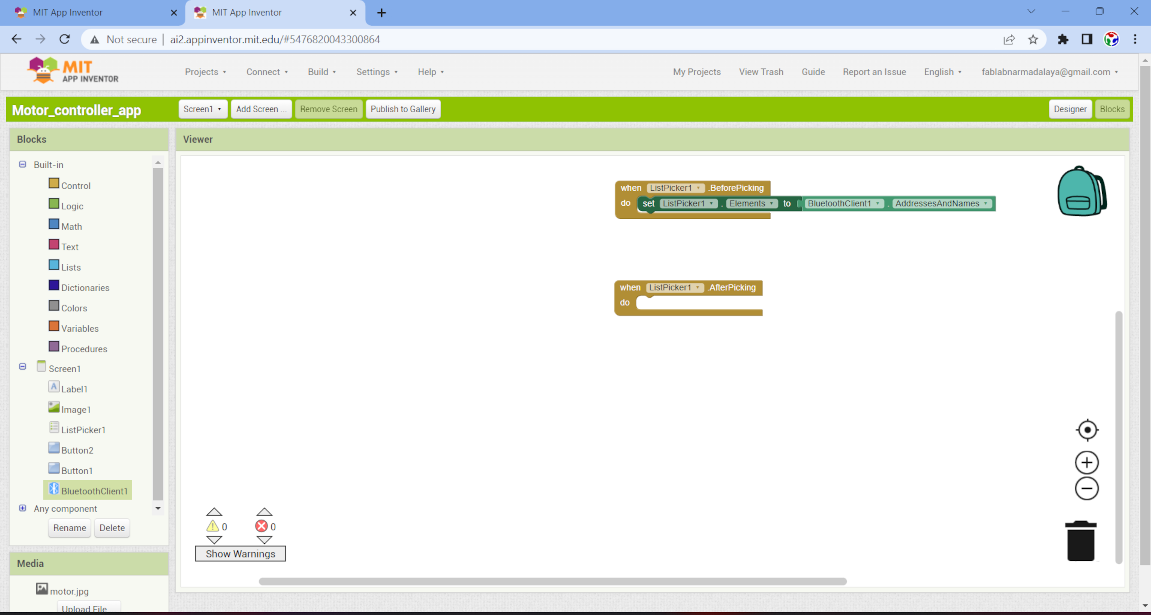
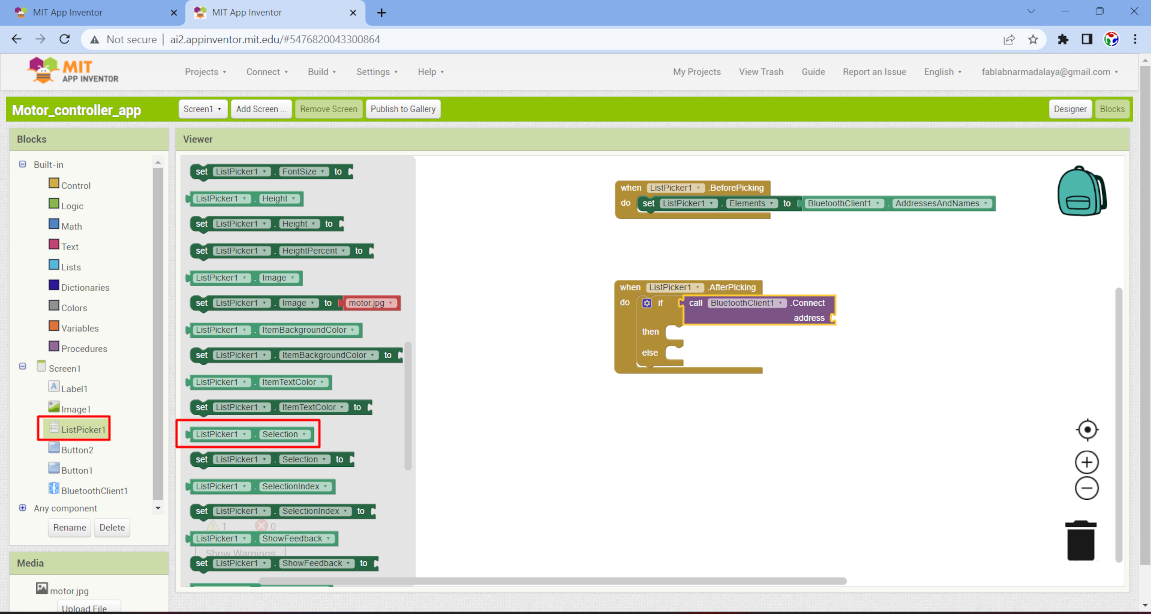
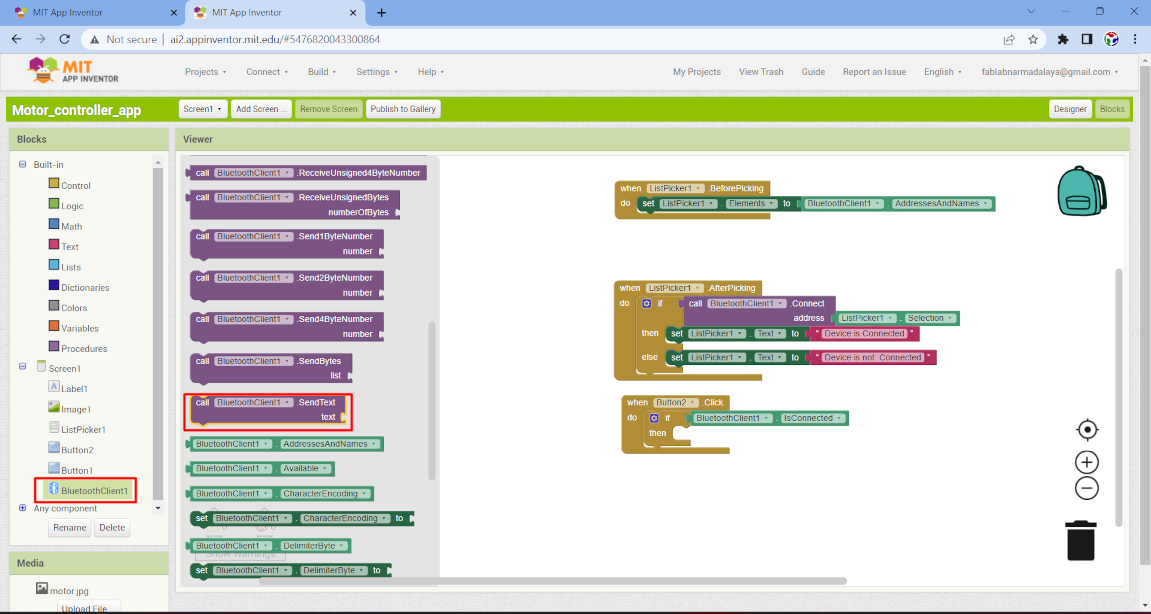
go to the list picker and select two condition for list picker for the before picking and after picking.

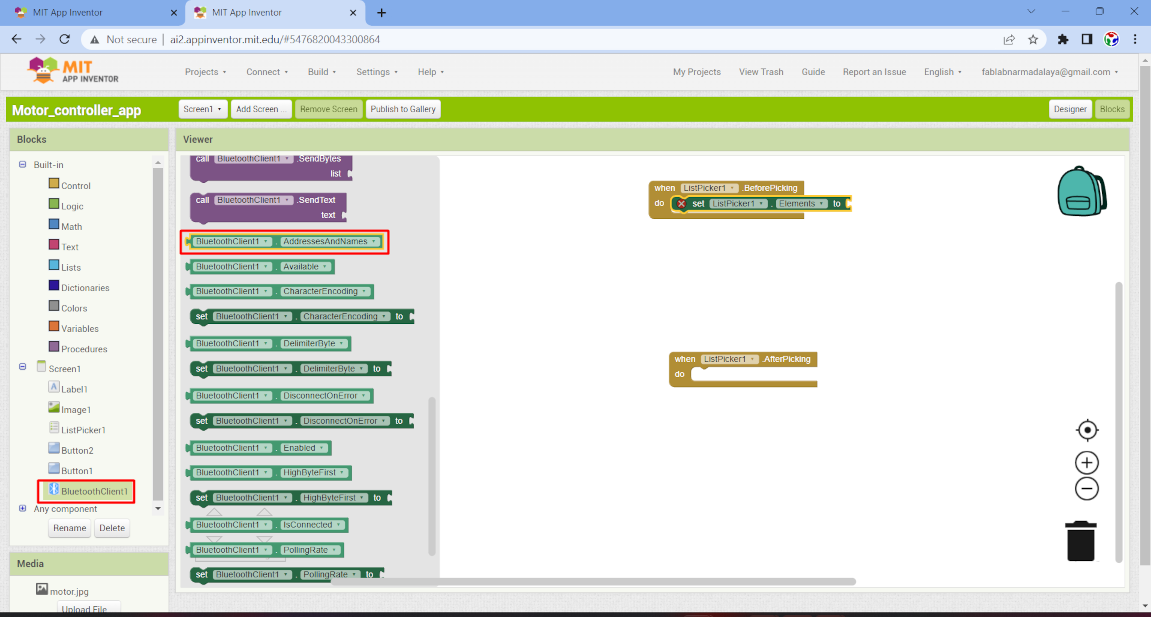
Now again go to the listpicker component and select listpicker element. This tool select the element from the list . After that go to the bluetooth client component
and select bluetooth client with address and names. and join it with listpicker element tool. Here list picker element show the list of bluetooth name and address
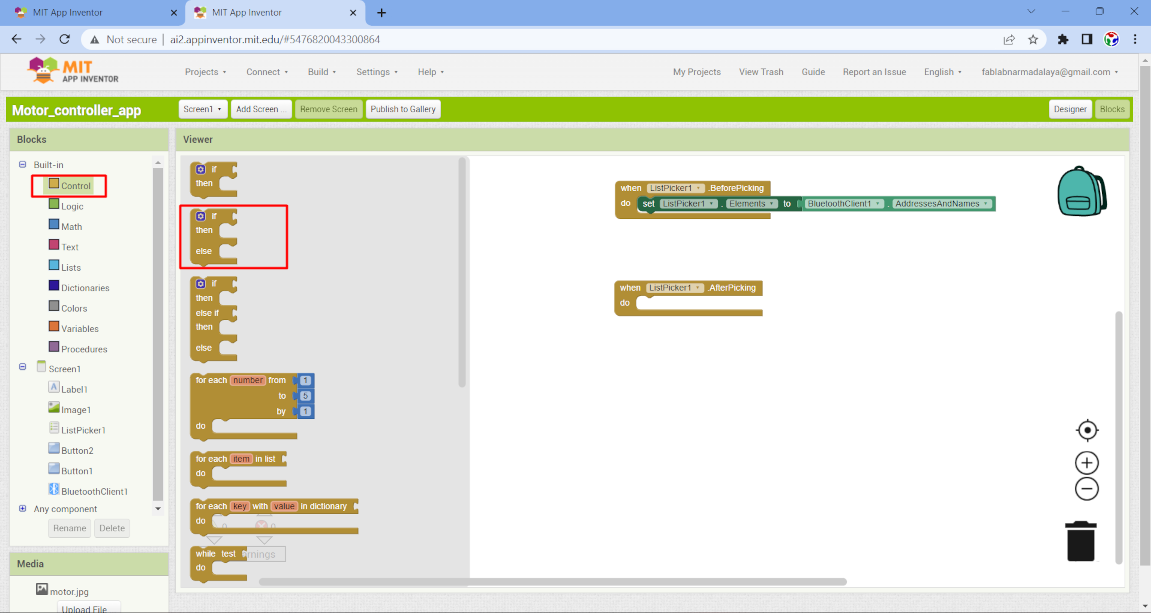
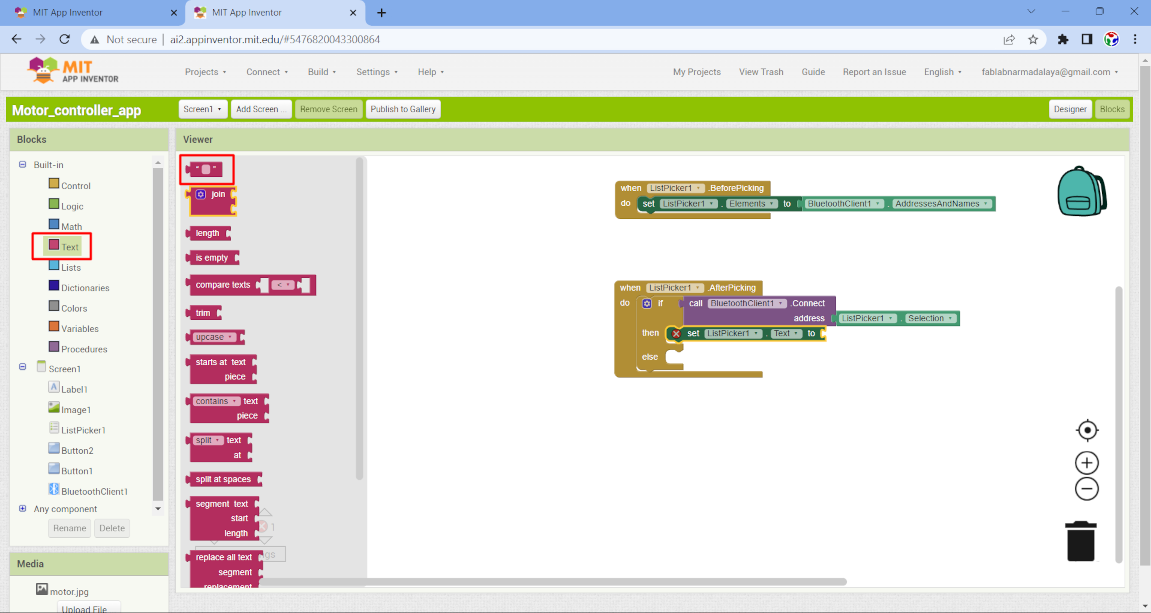
After that I go to the control tool and select the if loop to give the condtion. So i selected if then else condition and connect it with after icking tool
and then go to bluetooth client and select call option to call the name and address of the selected bluetooth device.
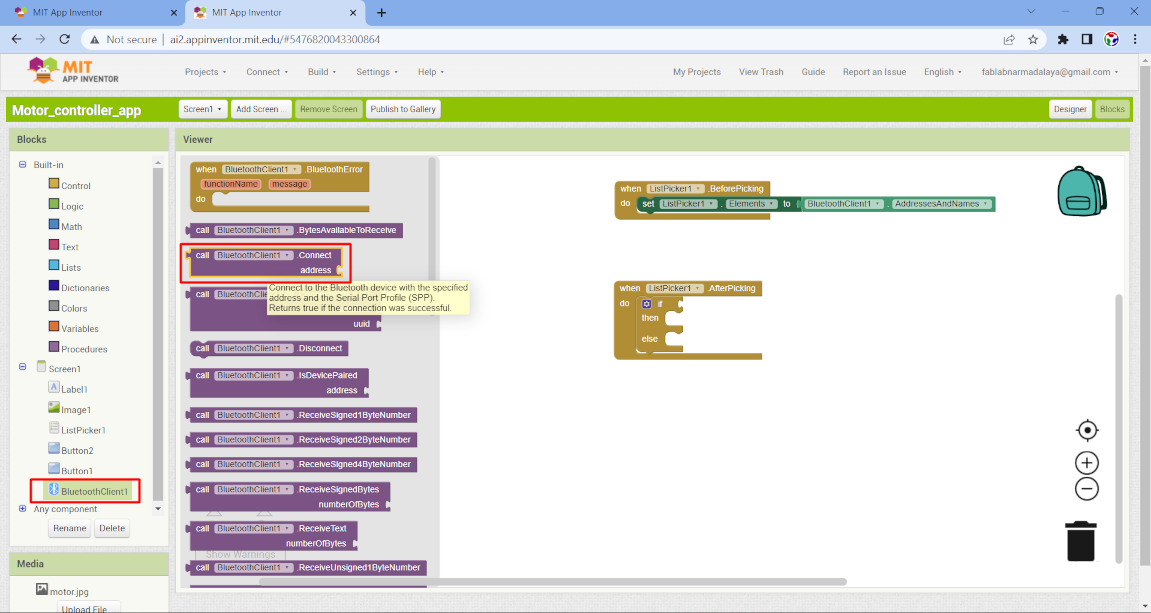
After that I go to list picker component and select the selection tool. Now this select the bluetooth which we call in upper tool.
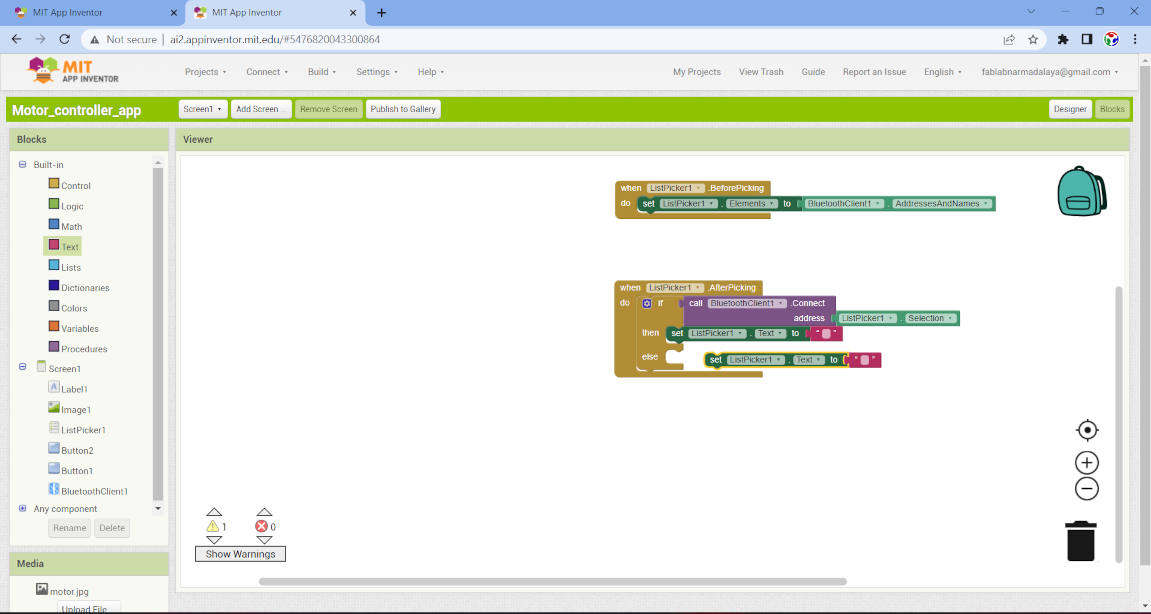
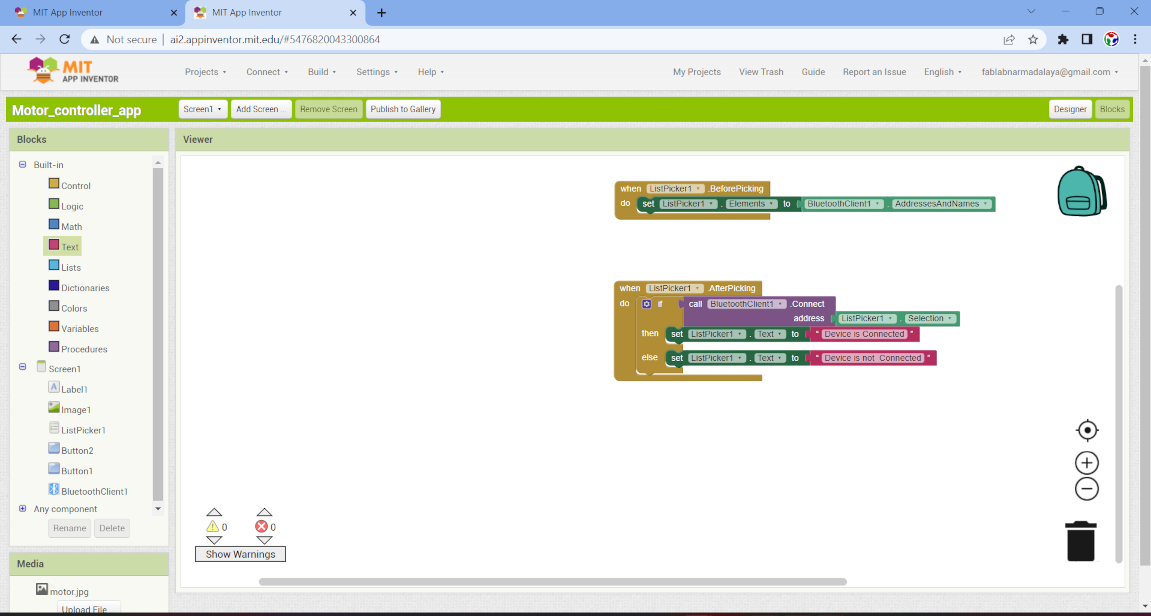
After that I select the listpicker text option and select a empty text box and write in the box that device is connected. This will appear in listpicker tool.
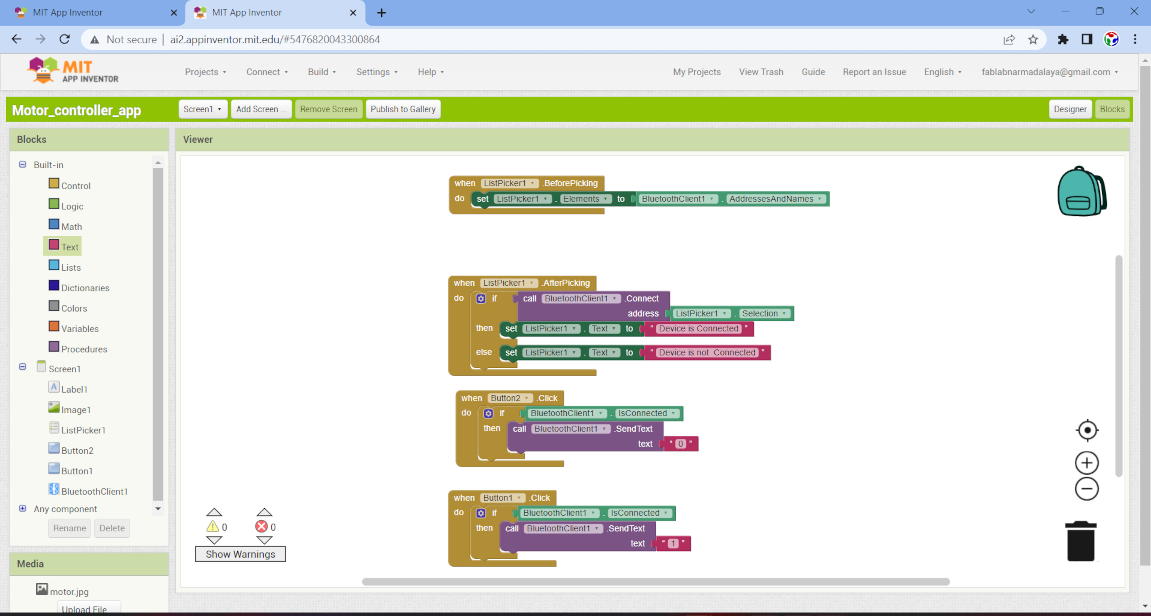
Now go to the button option and select when loop and then select the if condition and connect it with button and then select bluetoothclient connected option and
and connect with the the if loop and then select call bluetooth option to send the text. And then then select a another empty text box and give them a value
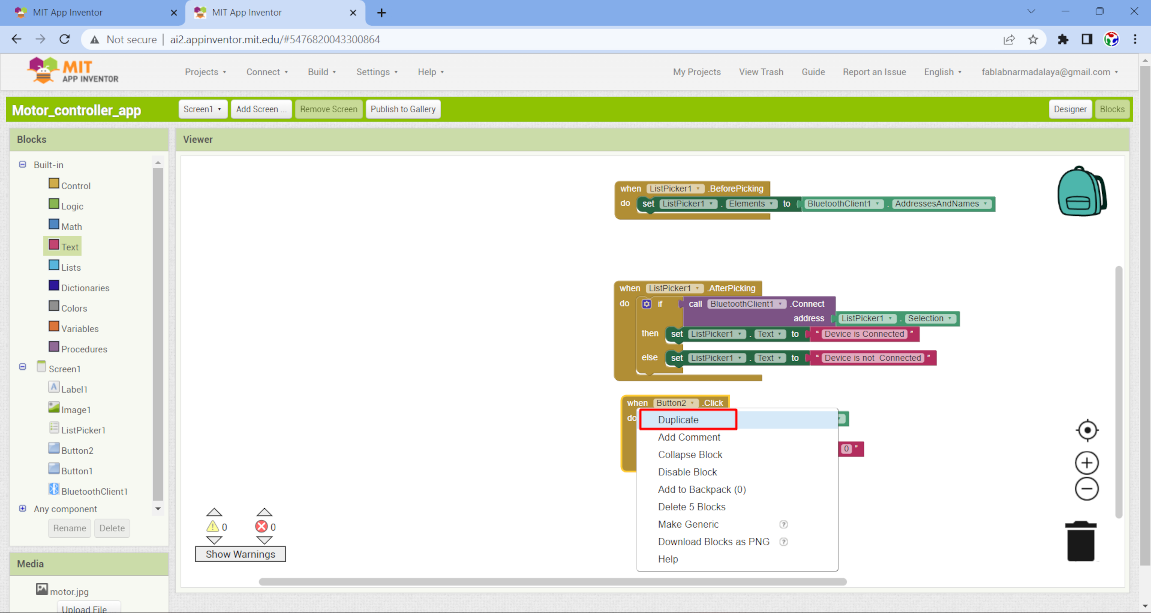
Then copy the button tool for button 1 and give the another value in text option. In this we send the text when the blutooth is connected otherwise we dont able to
send the text.
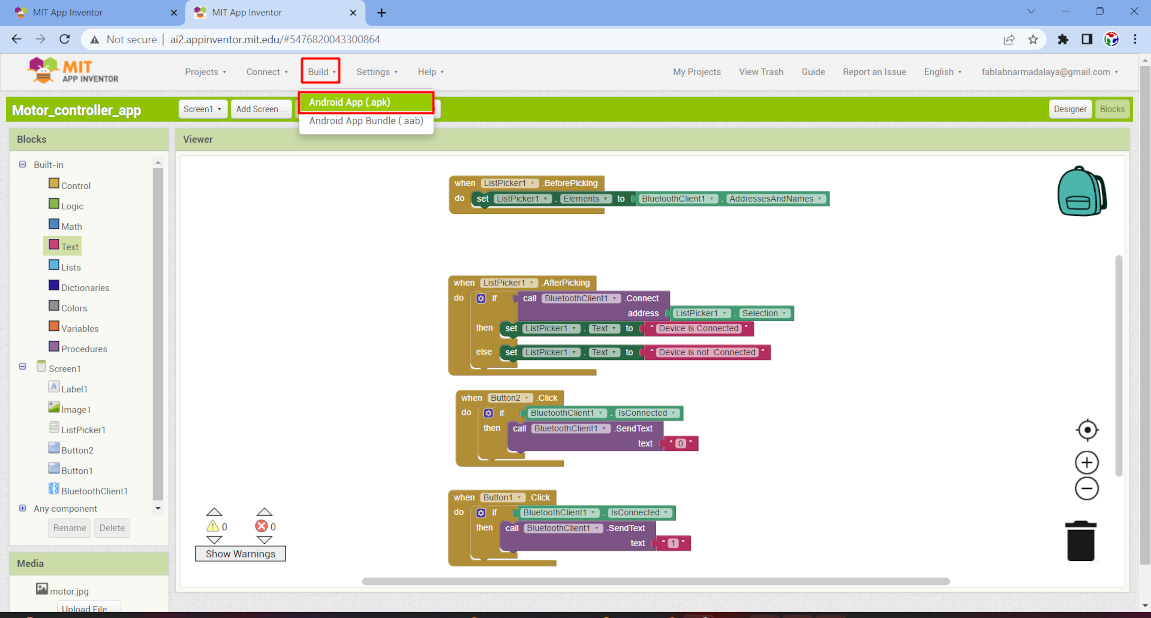
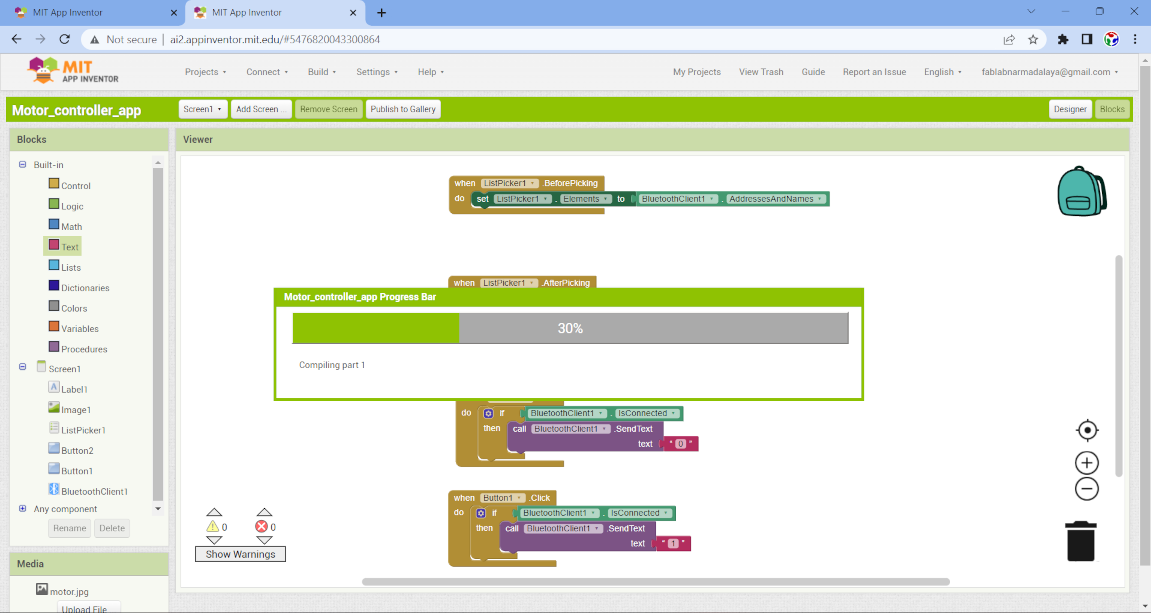
After that go the build option and select android apk option after that a loading screen is open and then a qr code and download option appear. So simply
download the app.
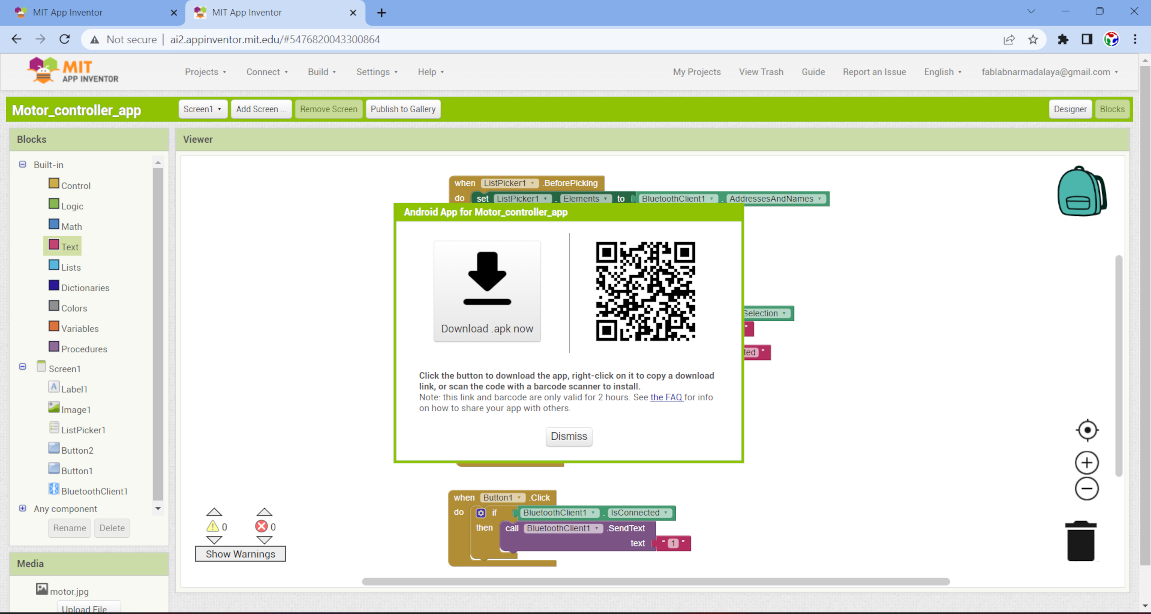
After that I install this application in my mobile phone.
programming
for programming I am gonna use board which I made in Input device week So I connect it with bluetooth HC05 and upload the code in the Board by using UPDI module.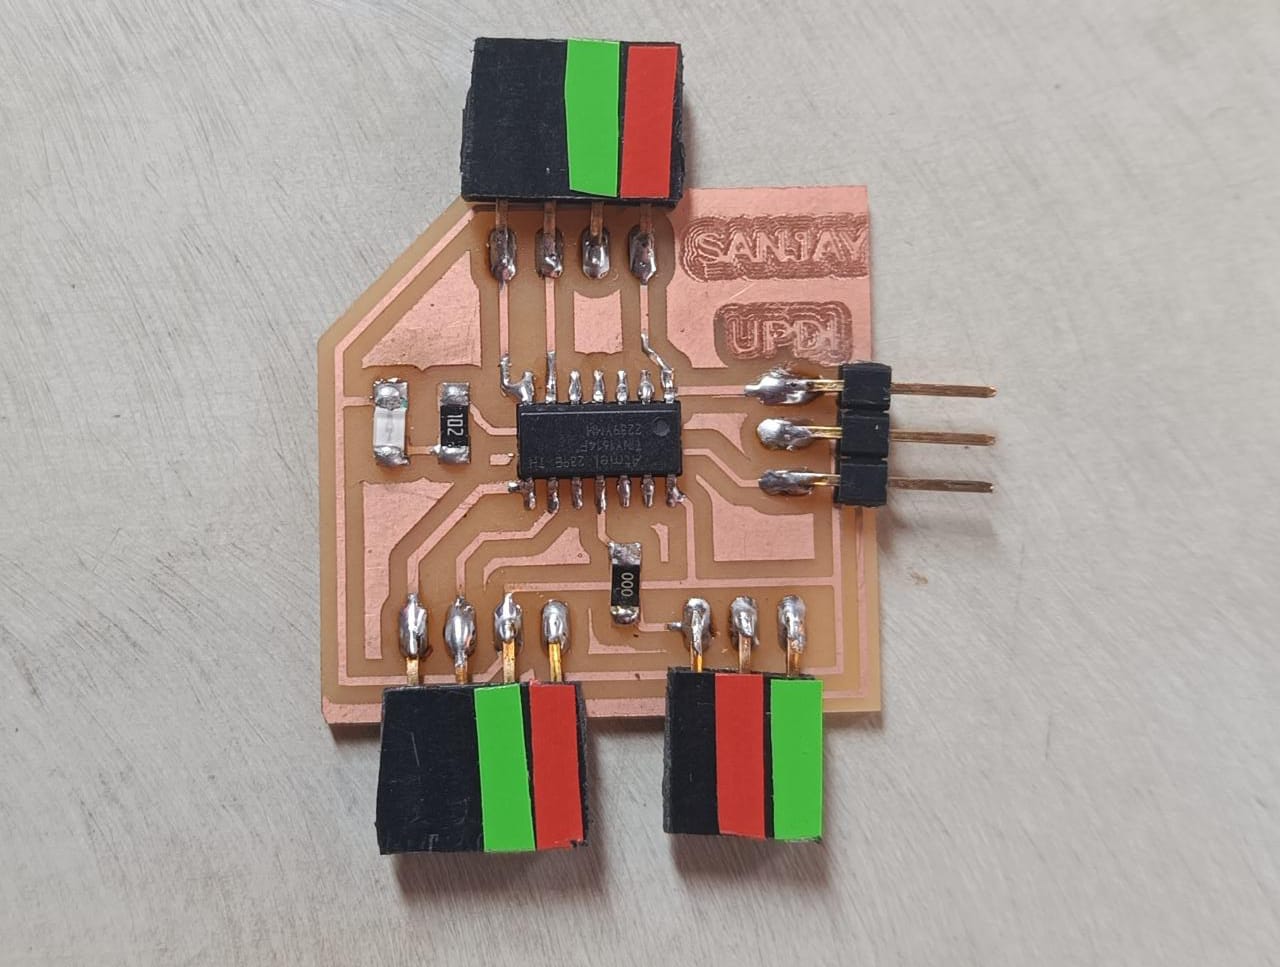
Code compiling and uploading
Result
Now I connect the relay module on pin no. 7 and connect the motor with relay and supply the power externally. Then I open the app and connect the bluetooth and it run successsfully.processing
We know that in serial data transmission we send the data in the form of bit. This data transfer taker place between our microcontroller board to computer system by USB cablewhenever we connect the sensor it gove value in digital or analog form. In analog we get randmoly changed value while in digital we get the value in the form of 0 and 1.
Processing is also like arduino But it convert those digital and analog values into animation, which change respect to our sensor output. In processing we read the port value
because we send the data by usb cable and this cable is connected on port. So in processing we read the serial data and according to data we set the animation for it.
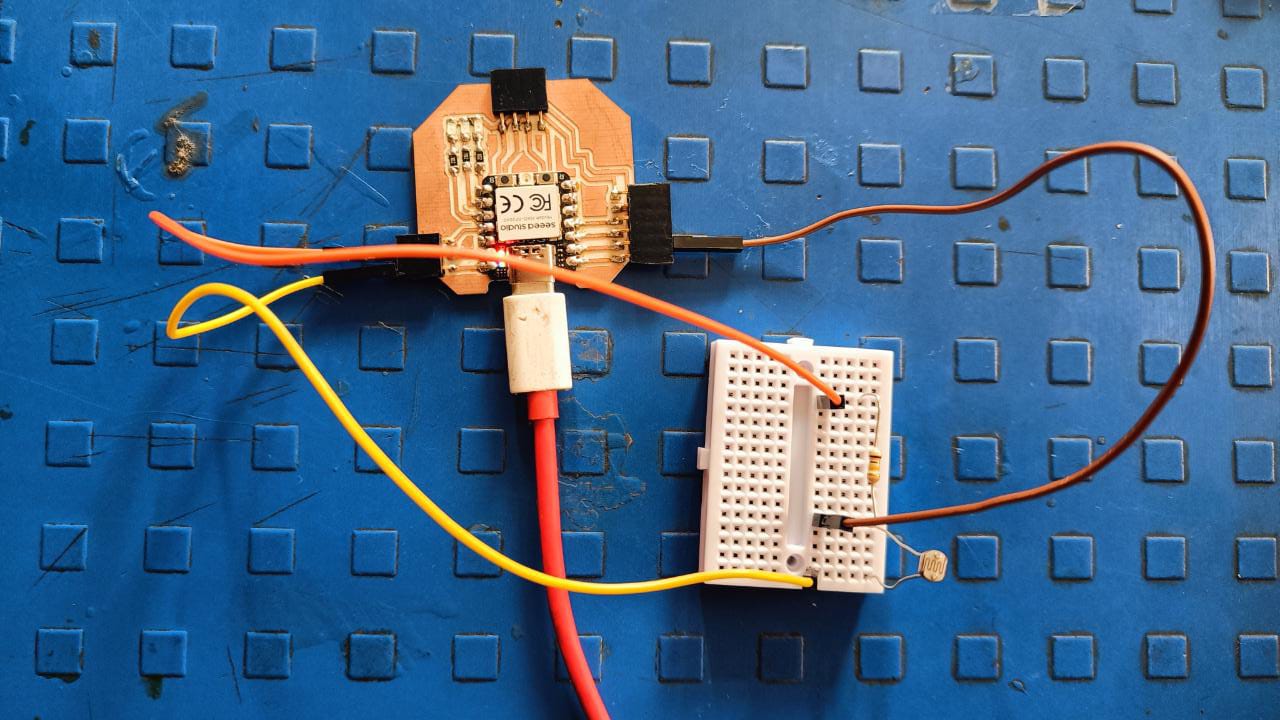
So I take a board which I made in output device week .
I just connect a LDR module to its analog pin A1 and supply it 5Volt . I also used a 100 k pull up resistor to ldr
by which it does not send data revert back. Then I upload the code
Code compiling and uploading
Now after that it give the value the value in serial monitor on com19. Now I open the processing ide and take a example code of brightness and do some modification on it
and then check the result and it working fine. I will try more animation on it.
Code compiling and uploading
Result Video
Learning outcomes
-I learned about the application making process-I learned about how to set bluetooth with an app
-I learned about the processing IDE and how The animation work
Issue faced
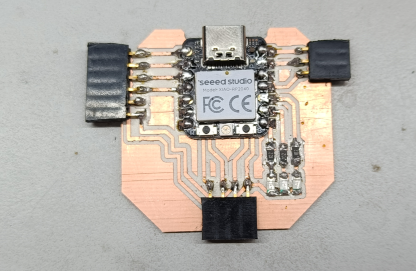
- I faces Issue with the xiao esp32c3 board which I made in Networking and communication week. The code is uploaded successfully but we cant connect the bluetooth with it.What went well
-The application run successfully on Attiny 1614 board with HC05 bt module.Download the all original file
Download FileDownload all code files
Click here to know more about group assignment.